This past week’s Draw & Sketch class was excellent – one in which I feel as though I learned a tremendous amount in such a very short time – so I have lots of fun stuff to share for today’s Sketchy Saturday post.
Hope you enjoy!
As with the first class, our instructor asked us each to warm up by drawing something – only instead of leaving the topic open, this time we were to draw a face. Well, ok! I can do that.
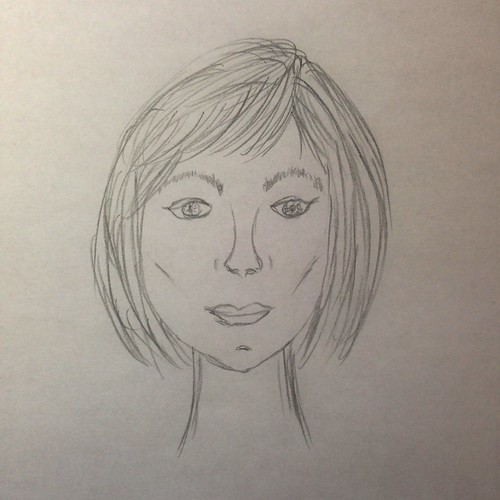
For a two-minute sketch, I thought it wasn’t all that bad – but then we moved on to learn how to do it properly.
In a nutshell, here is what we were taught about drawing the foundation of a face (front view).
- Start by drawing an oval.
- Draw one line down and one across the oval to divide it evenly into four sections.
- Divide the left and right sections evenly.
- Eyes are positioned on the left and right vertical lines and centre horizontal line with the space between them equal to the length of one eye.
- Don’t forget the eyebrows!
- The corners of the mouth line up with the centre of each eye.
- The corners of the nose line up with the inside corner of each eye.
- The distance between the hairline and the corner of the eye is equal to the length of one eye.
- The top of the ear lines up with the eyebrow and the bottom with the tip of the nose.
- The tip of the nose, the earlobe, and base of the skull all line up.
Whew! OK, let’s give this a try.
My first attempt was laughable, mostly because I started with a shape that was more round than oval and therefore ended up with something that looks more alien than human.
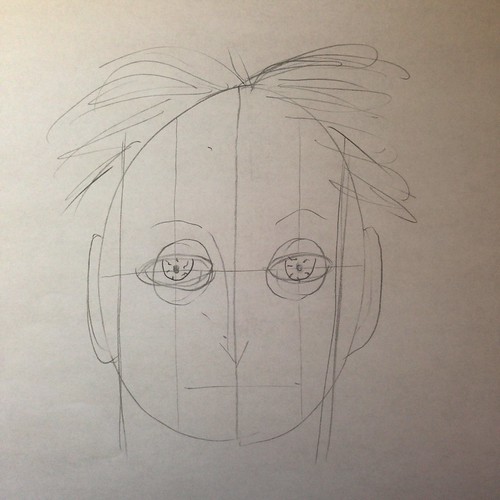
(I added the crazy hair and bloodshot eyes when I realized that this particular drawing was a lost cause!)
I had better luck with my three-quarter view. In this case we still started with an oval, but drew a guideline between the edge and centre line to account for rotation, then used the amount of the rotation to add to the other side of the oval to build up the skull.
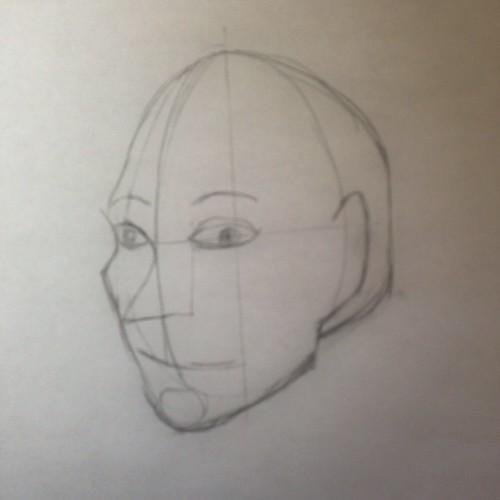
After the three-quarter view we tried a profile.
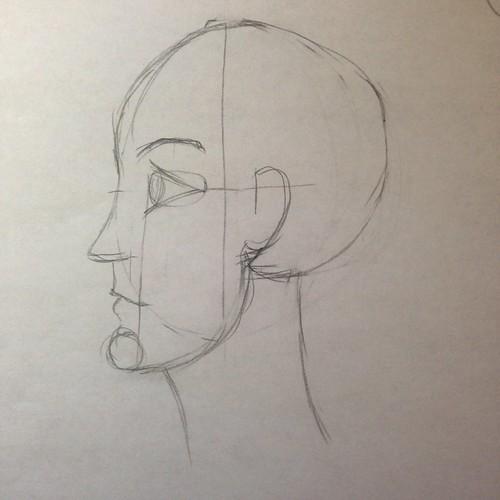
Next we took a break from this style of drawing and did a bit of cartoon-y stuff, first experimenting with simple ways to communicate facial expressions, then using this technique plus the lessons from the first class to create a couple of scenes.
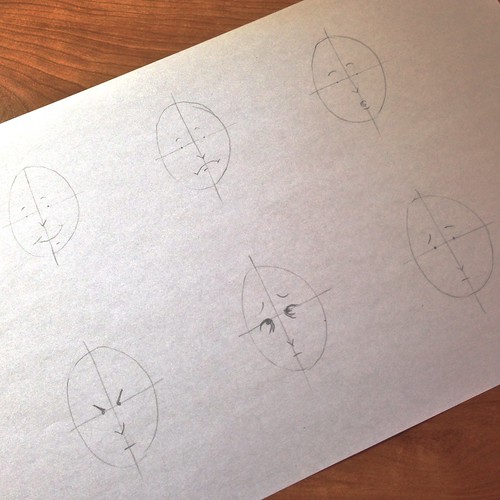
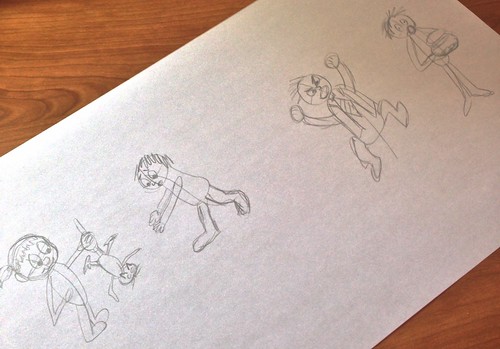
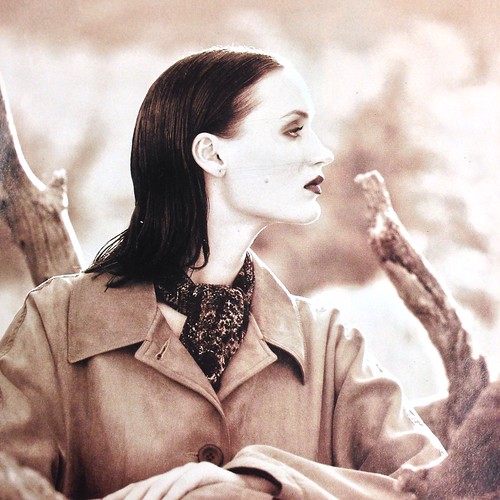
Then it was time for us to take what we’d learned in the first part of the class and use it to copy a face from a magazine clipping. This time I remembered to take a photo of the page I used.
Here’s my sketch, with a few enhancements by the instructor.
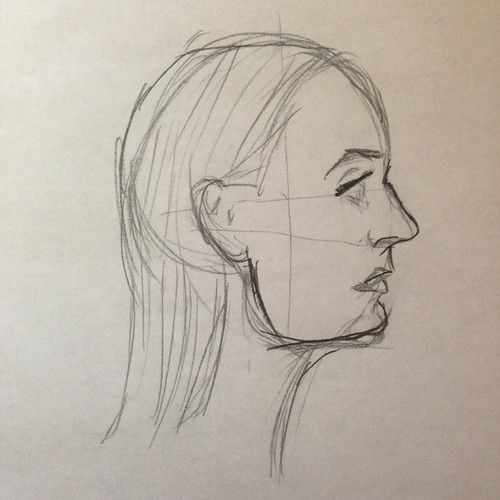
Before he came along and added the enhancements my face was a decent enough drawing, but didn’t actually look like the person in the picture. When he added just a few strokes to the mouth and nose, it was amazing to see my drawing suddenly begin to resemble the photograph a little more.
Clearly I have a lot to learn!
Still, when I compare my first drawing at the top to the ones I did after learning something about positioning and proportion, I can really see an improvement in technique. (I also realized that whenever I’ve drawn faces in the past, I’ve always placed the eyes far too high!)
At the end of the evening one woman in the class shared in a tone of amazement that she’s spent hundreds of dollars on drawing classes throughout her life, but this was the first time anyone has ever taught her these techniques. I feel fortunate that I didn’t have to spend all that money before learning this stuff, and in a lot of ways feel as though I got my money’s worth for the whole course by what I learned in tonight’s class alone.
I am definitely looking forward to the next one!
How have you been creative this week?
Please share!


